Open Fire Cooking – The Beginners Guide
When Australia’s scorching hot summers are through and the weather starts to cool, Australians flock outside and light a fire. It’s a time to get together with family and friends and enjoy the beautiful nights Spring, Autumn and Winter have to offer. Open fire cooking and entertain outdoors around the open fire is as Aussie as flip-flops and meat pies.
But sometimes, the dream of the ideal barbecue can turn into a nightmare: meat that doesn’t seem to cook, a steak so well cooked is resembles a piece of leather or smoke worthy of a volcanic eruption that seems to follow you everywhere you go.
But that was before you read this beginner’s guide to becoming an open fire cooking expert!
The English word “Barbecue” and its cognates in other languages come from the Spanish word Barbacoa. – Wikipedia
Have the right equipment ready for use
For a successful open fire cooking session, always choose good quality hard wood and keep it in a dry place.
When lighting the fire, use long matches to avoid burning yourself. Ideally, only one person should be in charge of the lighting to avoid any pushing and shoving. Equip yourself with heat-resistant gloves or potholders covering the forearm. Don’t hesitate to wear a thick apron to protect yourself from any sparks or splashes. When cooking, choose long-handled utensils with wooden handles.
When it comes to turning grilled meats and sausages without poking them, a pair of tongs is also preferable to a fork to prevent them from drying out. And for perfectly cut meats, get out your best knives. Japanese knives like the Santoku are perfect for thin or thick slices. They will also be useful for slicing vegetables, fish, and herbs.
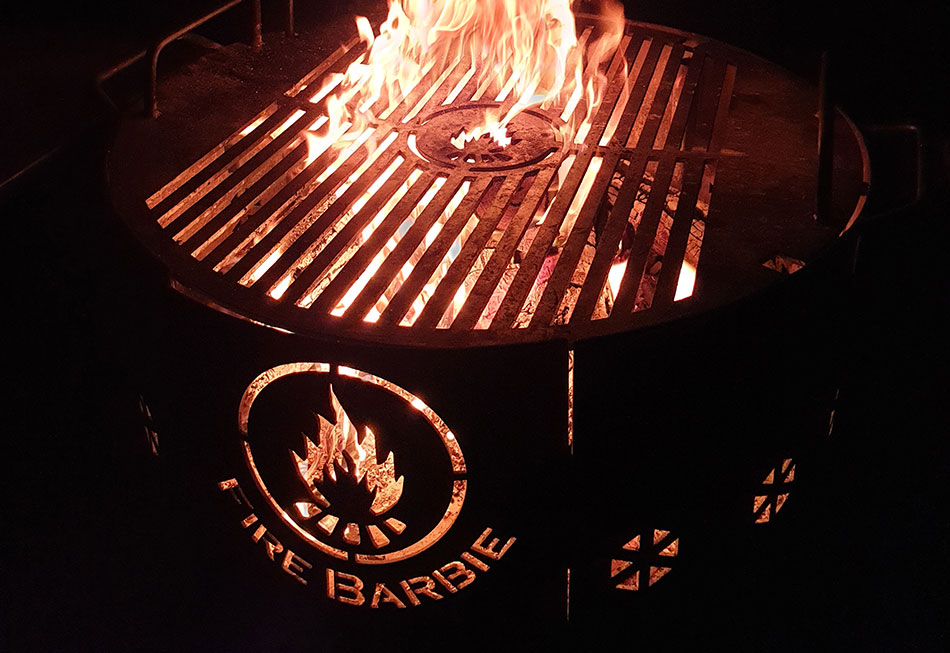
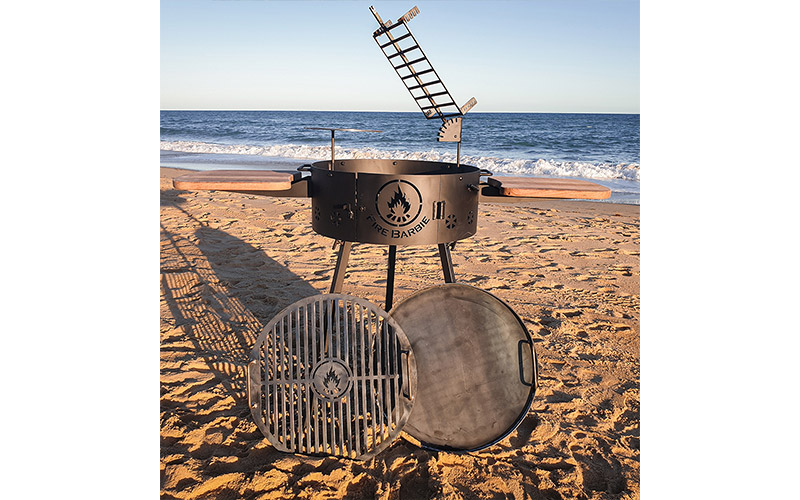
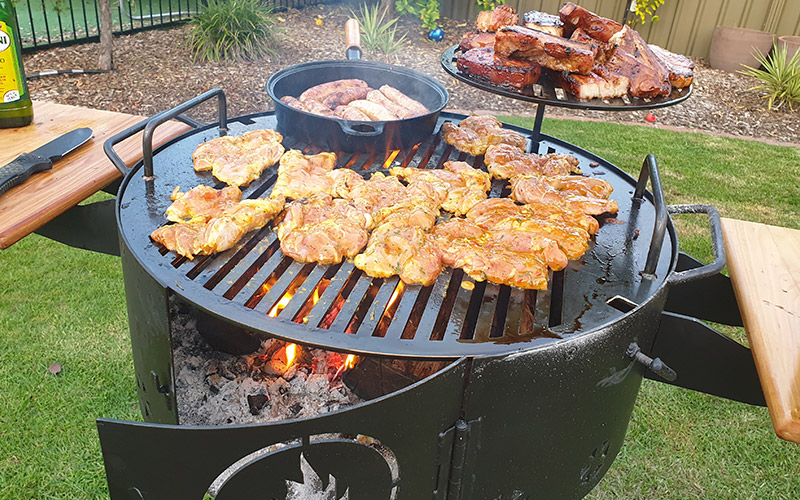
The FireBarbie is an essential piece of the equipment required to successfully cook over the open fire. The Fire Barbie allows you to effectively master open fire cooking allowing you to cook more safely at a convenient and more manageable height.
Grill plates and cooking surfaces
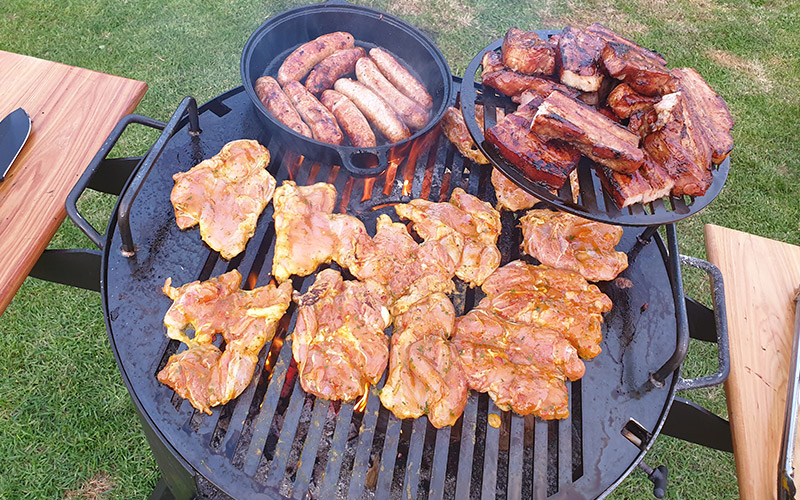
Many people often prefer to use a grill instead of a cast iron plate. Barbecue enthusiasts claim that the meat tastes better. However, a cast iron griddle guarantees a more even cooking due to optimal temperature distribution. FireBarbie offers both.
It is essential to choose a cast iron plate with a minimum thickness of 5mm. The FireBarbie model is so robust that it can be heated at very high temperatures without any risk of deformation. This plate offers a very good life span even with intensive and prolonged use. Here are some of its benefits:
- Excellent thermal inertia: A cast iron plate is thick and therefore very robust. It has a very good thermal inertia. It offers you an increased resistance to temperature variations.
- Uniform temperature throughout the plate: A cast iron plate spreads the heat slowly and evenly over the entire cooking surface. It retains heat longer than any other material. The temperature remains uniform over the entire cast iron plate.
- Reduced energy consumption: Once a cast iron plate is heated, it stores heat for a long time. You can therefore reduce your fire to a minimum. At the same time, you limit your gas or electricity consumption.
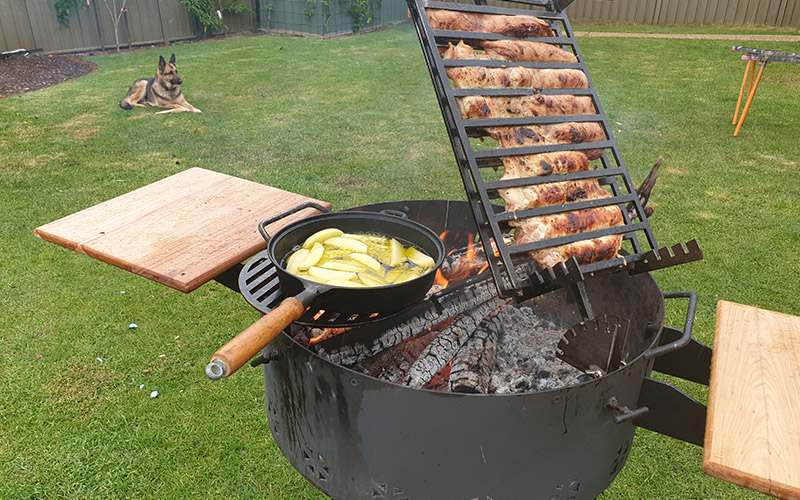
But open fire cooking isn’t just for grilling! The vast majority of the dishes you cook in a pan can also be cooked on the barbecue. Cast iron pans are ideal, as they allow good heat distribution and tolerate the high temperatures of the barbecue.
For cooking fish or fragile foods, don’t hesitate to invest in a solid grill that will prevent the food from falling into the embers when you turn it over.
The Fire Barbie offers both a solid hotplate and an open grill, so you get the benefit of both cooking methods. The Fire Barbie will have you cooking like a true open fire cooking master.
Find the right spot for your barbecue
When traditionally cooking over the open fire there are many things to consider when planning a successful barbecue, you must first choose the right area to light your fire and place your grill.
Also, remember when lighting fires to be fire smart and prepared. A bucket of water on standby is always a good idea.
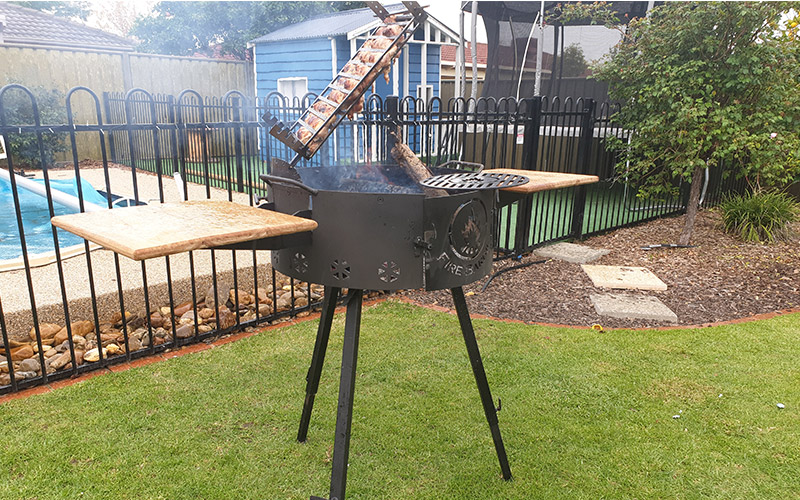
The FireBarbie itself alleviates this list of things to consider when planning to cook over the open fire.
- On stable ground
The FireBarbie has three telescopic legs that are easily adjustable. Uneven ground is no problem for the FireBarbie.
- Sheltered from the wind
The FireBarbie has walls that protect it against the wind.
- Far from flammable plants and objects
The FireBarbie is portable, if you light a fire and you find it is too close to an object you can easily move the FireBarbie away.
- Where the smoke will spare the guests
The FireBarbie is usually set at a height of around 900mm. Having the fire off the ground makes it much easier to dodge unwanted smoke.
- Out of reach of children and animals
Falling into an open fire is always a concern. But as the FireBarbie elevated off the ground it makes that problem go away. But please be careful. The FireBarbie walls are super-hot so always be diligent with children around an open fire.
Take the time to prepare your open fire cooking session
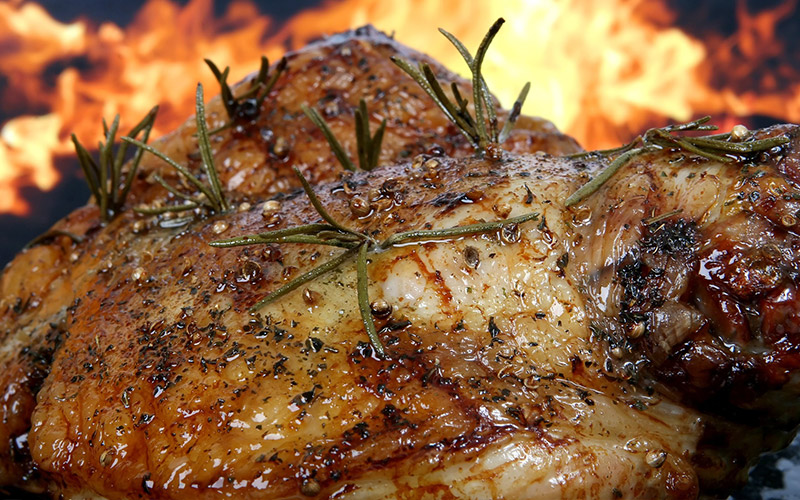
For a successful barbecue, you will need at least 40 minutes for the embers to form. Especially if you plan to cook large pieces such as beef ribs for which a large quantity of embers is necessary. So, think about lighting the grill well before you sit down to eat, or have some starters on hand while you wait.
Anticipate by having newspapers, kindling, charcoal, and possibly other fuels you wish to use to add to the barbecue. Also prepare your marinades, skewers, sauces, and side dishes in advance. Once the barbecue is up and running, it will need all your attention!
Use the right firewood
If you want delicious grilled food, wood is the best fuel for open fire cooking. All kinds of wood can be used, but generally hard wood varieties is a good option. In Australia, Gum varieties is a solid choice and won’t let you down. The only exception is resinous wood, which is neither healthy nor ecological for cooking food.
Beech is one of the most suitable firewood for barbecues because it will prevent any unwanted smells and flavours on your food. It will also allow you to light embers quickly by using them in chunks adapted to your particular grill. But in Australia we only have a couple of varieties and is generally difficult to find.
But no matter which one you choose, the firewood must have a low moisture content to guarantee a good heat release.
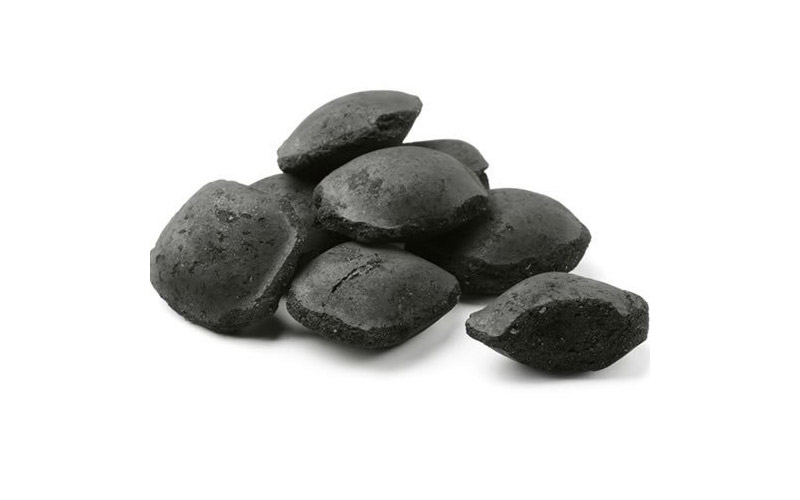
When it comes to charcoal, it’s a little more complex to choose because its quality will depend on its volatile matter content. It will be more difficult to light a fire with charcoal having a low volatile matter index. Its carbon composition also plays an important role.
Ultimately, the choice of firewood will depend on whether you want to cook quickly or slowly. Choose hardwood charcoal if you want a slow cooking session or softwood charcoal if you want faster heating.
To facilitate the lighting of your fire, it is necessary to add newspaper, wood logs, or natural and ecological firelighters such as wood wool or vegetable products.

The secret lighting technique
Do you know the unbeatable technique to light your barbecue in 5 minutes and impress your friends at little cost? Wrap newspaper around a bottle of water and place it in the middle of the barbecue. The bottle can be glass or plastic. Then, make a pile of charcoal all around the bottle, before removing it from the newspaper. Lastly, throw a match in the middle of the newspaper. Once burned, it will be covered by the pyramid of charcoal. A radical technique to prepare good embers in no time!
The coal
If the charcoal is too hot, the meat may be too dry or burnt. The charcoal is ready when it glows evenly and is covered with a thin gray film. This can take up to 30 minutes.
To determine the ideal temperature, put your hands about 6 inches above the grill. If after 2 seconds you can’t stand the heat, the charcoal is too hot. You should be able to keep your hand above the grill for 4 seconds. If you can keep your hand over the grill for 6 to 8 seconds, the charcoal is too cold. Add a few pieces to make the coals hotter.
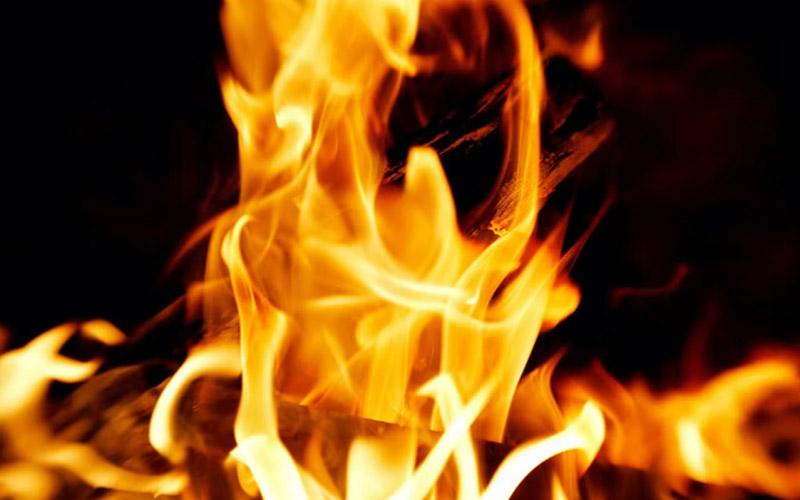
Know how to react if the flames are too big
When setting up your barbecue, have something ready to put out the flames in case of an emergency. It can be a bucket of sand or water or maybe a garden hose connected to the barbecue to save you in case of a spill. If flames do erupt during cooking, a handful of coarse salt should take care of the situation.
Cooking time!
Remove the surplus fat
Pieces of meat with lots of fat are very tasty for carnivorous barbecue lovers. But when the fat melts and falls on the coals, it creates flames that will burn the meat.
To avoid this, remember to remove the excess fat from the meat before placing it on the grill. And also to drain well the pieces of meat which were placed in the marinade.
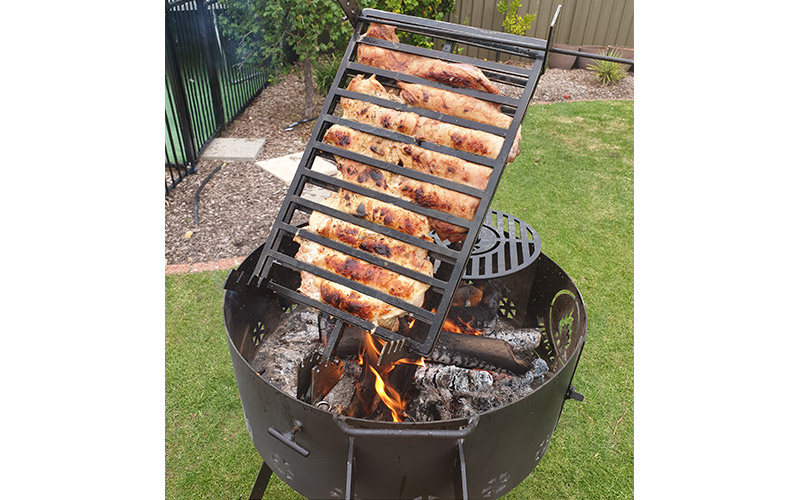
The right positioning of the food
Becoming an open fire cooking pro is like reaching level 9 of Tetris: you have to play around with the grid!
To be able to remove your food from the grill in an optimal way, without dropping anything or having a hard time doing it, place all the food in the same direction and in a diagonal line along with the grill. Place the longest cooking meats in the center. When cooking fish, choose pieces with skin because they will be less damaged by the flame.
Before putting your pieces of meat or vegetables on the grill, remember to lightly oil it with a brush or paper towel. This will prevent the food from sticking.
Optimal timing
The key to a successful barbecue is undoubtedly the timing. Because some people want their meat rare, some want it medium, while others prefer it to be cooked to completion. It’s not easy to serve everyone at the same time, and to keep the garnish hot!
There is a way to solve this dilemma. You have to place the pieces of meat on the grill in accordance with how they will be cooked, from the most well-cooked to the least. Space them out by three minutes each time.
That way, the person in charge of the barbecue will be able to sit down at the table at the same time as everyone else, which is a lot more fun!
Patience is key
The golden rule for juicy meat? Even if your belly is rumbling and your uncle says he’s in a hurry, never press on a slice of meat to cook it faster! Because even if it will indeed cook faster, it will also lose its internal fat, its juice, and its marinade, and you will end up with a dry piece of meat. Not so yummy! For the same reasons, it is strongly advised not to turn a slice of meat by pricking it with a fork.
Tips for cooking
When you have a large piece of meat to cook on the barbecue, you are often afraid that the lengthy cooking process will dry it out a bit. The best way to avoid this is to brush the meat with a good sauce regularly during the cooking process. This way, not only will the meat stay tender, but it will also soak up the sauce and absorb all the flavors.
Another tip is to cut a potato in half and stick a fork in one of the pieces. Then rub the cut surface of the potato over the hot grill. The heat extracts the starch from the potato, which creates a kind of non-stick coating on the grill. Now the meat can cook without sticking to the grill.
For your skewers, remember to soak your wooden picks in water for 1 hour before cooking so they don’t burn on the grill. For delicate pieces, don’t hesitate to skewer on two picks which will give you more stability during cooking.
Different heat zones
Divide your grill into three coal or heat zones. The hottest zone (zone 1) is where the coals are most concentrated. In the area with the most spaced coals (zone 2), you have medium heat. The last third is completely free of coals. So, you can cook the meat at different levels and keep it warm where there is no charcoal (zone 3) and grill it with direct and indirect heat.
Position the grill at least 4 inches from the coals and according to the type of cooking you want. The lower the grill is, the more seared the meat will be. And the higher the grill, the more gentle the cooking.
Place fragile pieces such as small fish or scallops on the edge of the grill for gentler cooking. Fatty pieces such as duck or salmon should be placed on the edge to prevent the fat from catching fire.

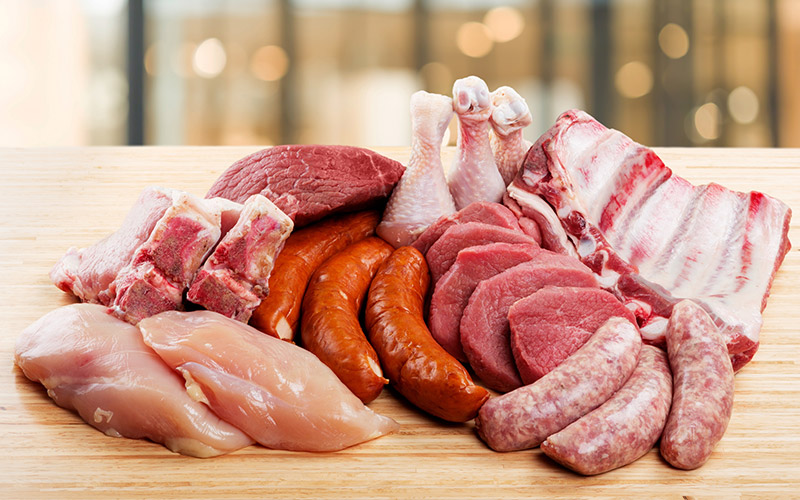
Classic food options and their cooking processes
Many different types of food can be cooked on the barbecue, but it is important to adapt the cooking process for optimal results. Here are some tips for successful barbecuing according to the ingredients:
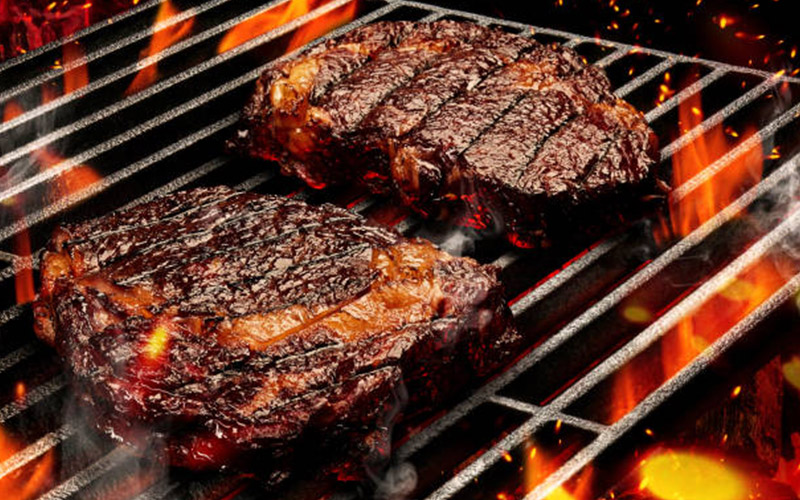
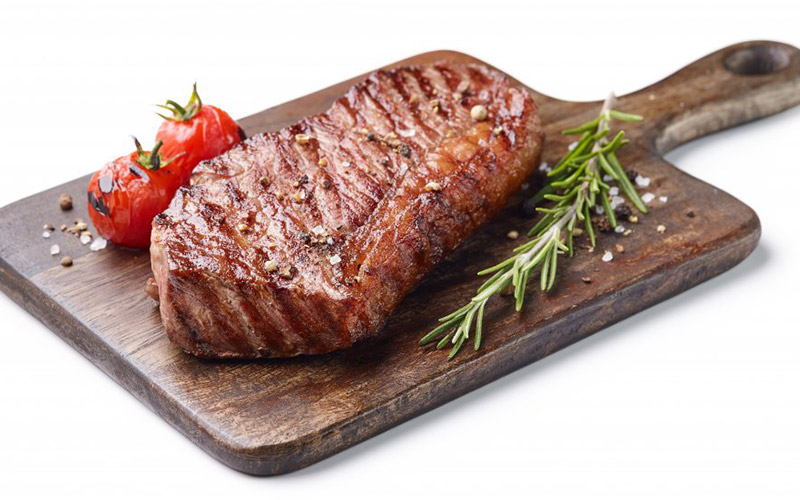
- Red meat: For rare cooking, exposure to heat should be intense and brief. Lower the grill and monitor the cooking process.
- White meat: Cooking should be gentle, raise the grill and turn your pieces regularly. You can marinate them in advance in coconut milk, a spicy sauce (oil and harissa), or spiced with herbs (rosemary, thyme, etc.).
- Sausages: Chipolatas and merguez are a must, but they can also be replaced by other kinds of sausages or even black pudding.
- Skewers: It is best to make them yourself. Cut out pieces of the same size and vary the combinations. Do not hesitate to mix sweet and salty. For example, you can add some dried apricots to your poultry brochettes. You can also use rosemary stems as skewers to flavour your pieces of meat.
- Vegetables: You can cook them on skewers (tomatoes, bell pepper strips, and onions), in aluminium foil placed in the coals (potatoes, corn), or directly on the grill (eggplant slices, whole mushrooms)
- Fish: The grill should be high enough for slow cooking. Many fishes are suitable: sardines, sea breams, mackerels, tuna, etc. Don’t hesitate to marinate them in lemon, honey, white wine, teriyaki sauce, or soy sauce before grilling. You can also sprinkle them with aromatic herbs (tarragon, dill, etc.)
- Cheese: Try Camembert on the grill! Directly in its wooden box, just put it high enough on the grill until it melts.
- Fruit: Peaches, apricots, and pears are just as delicious as salty and sweet versions of turkey skewers or wraps.

Aromatic herbs and salting
To give a delicate and subtle flavour to meat or fish on the barbecue, put a little thyme or bay leaf on the charcoal embers before placing your food on the grill. When served, the food will have a nice little taste of smoked herbs, and can even be enjoyed without any sauce.
In the embers, you can add any type of smoking wood for smoking. Wood from whisky or wine barrels can add a nice taste. You have to put these woods in the hot embers, close the lid and let it smoke for 10 to 15 minutes, it gives taste to the meat
For salting, it is the opposite. Even though salting your piece of meat right before putting it on the grill doesn’t seem to be a big deal, it’s actually not that good. It’s a mistake most people make when they’re just starting out with open fire cooking. Here’s the science: if you salt before cooking, the meat will shrivel upon itself, and lose its flavor.
Remember to oil the food before placing it on the grill to avoid oil drips in the barbecue.
Palpation of the pieces of meat
To check its doneness, you don’t need to cut through the meat. The best way is to touch it or to take its temperature. If you use a thermometer, stick the probe in the most fleshy part and horizontally to avoid any contact with the bone. Don’t forget that the temperature increases by 3°C to 5°C degrees when resting.
For information, know that rare is 54°C, medium rare is 63°C, medium is 72°C and well done is 77°C.

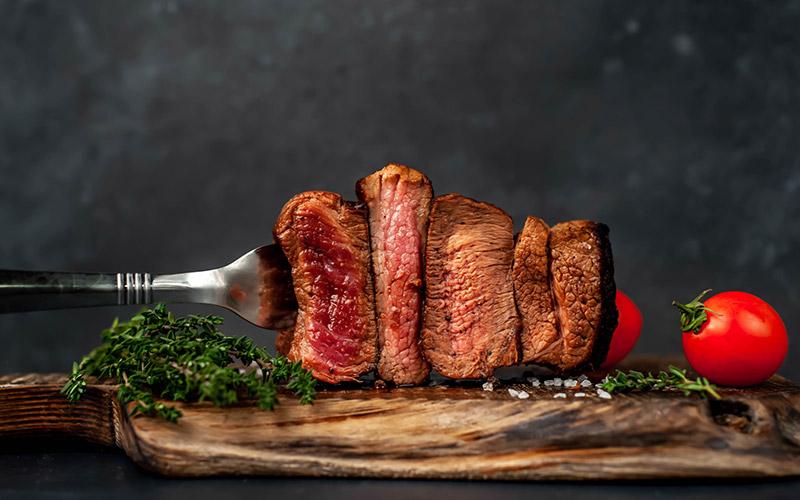
Let the meat rest for a bit
When you finish cooking a fantastic, juicy piece of meat, it is very tempting to bite into it as soon as it comes off the grill. But it would be a mistake to do so, because you would be depriving yourself of an irresistible taste, an incredible tenderness, and an unparalleled juiciness! To give your piece of meat these three qualities, you should let it rest for a while after you’re done cooking it.
Here’s the science behind it. During cooking, the meat contracts, and the juices are then directed towards the center of the piece. It is necessary to give it a resting time so that these juices are redistributed in the whole piece and consequently reabsorbed by it. This way, when you cut the meat, the juices won’t run out and the meat will remain juicy and delicious. Also, a slight resting period allows the meat to relax and get rid of this contraction. The meat is therefore more tender.
For small individual pieces, such as steaks, flank steaks, chicken breasts, etc., let it sit for about 3 to 5 minutes. For roasts or other larger pieces, you can let it sit for a good 15 minutes. The simplest calculation is to let it rest for 1 minute per 100g.
How to Safely put out an Open Fire
Once the food is out, let the ashes cool down for 24 hours out of the reach of children and animals. Close the lid if your barbecue has one and protect it from bystanders. The embers and ashes can then be safely disposed of in the garden.
Cleaning of the Grill
After each barbecue, there is no way around it: we leave a bit of meat marinade or fish scales on the grill. So, to avoid that next time your steak smells like fish, remember to clean the grill properly after use.
For optimal cleaning, mix water and baking soda and scrub the grill with a steel brush. Do it while it’s still hot to make it easier. Then strip the grids by applying the mixture with your steel brush. The action of the heat mixed with the paste will facilitate the stripping of the grid.
There is also a more natural alternative. Cut an onion in half, skewer it on a fork and rub the cut surface on the dirty grill. The onion juice has a disinfectant effect and will even remove invisible dirt from the grate.
If onion juice isn’t enough, take an old newspaper and wrap it around the dirty grate. Then sprinkle the newspaper with water and let it soak overnight. The moisture and ink in the newspaper will loosen stubborn dirt. The next morning, simply wipe the grill with a cloth.
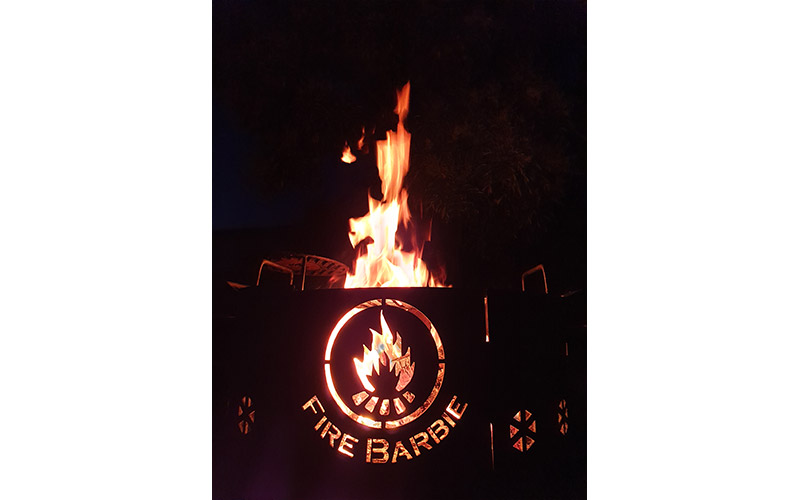
This fire Barbie can do it all with the accessories it’s a perfect piece for outdoor cooking.